Bringing a website to life on the internet involves a series of clear, manageable steps. Whether you’re a developer, a small business owner, or a hobbyist, this guide walks you through everything you need to know to get your site online—from picking a domain name to launching on a hosting platform.
1. Choose a Domain Name
Keep it short and memorable – Aim for 2‑3 words, easy to spell.
Use a relevant TLD – .com is universal, but .dev, .io, or country‑specific TLDs can work too.
Check availability – Use registrars like Namecheap, GoDaddy, or Google Domains.
Consider future branding – Think about how the name will fit with your logo, social media handles, and SEO.
Tip: Register your domain for at least 2‑3 years to signal credibility to search engines.
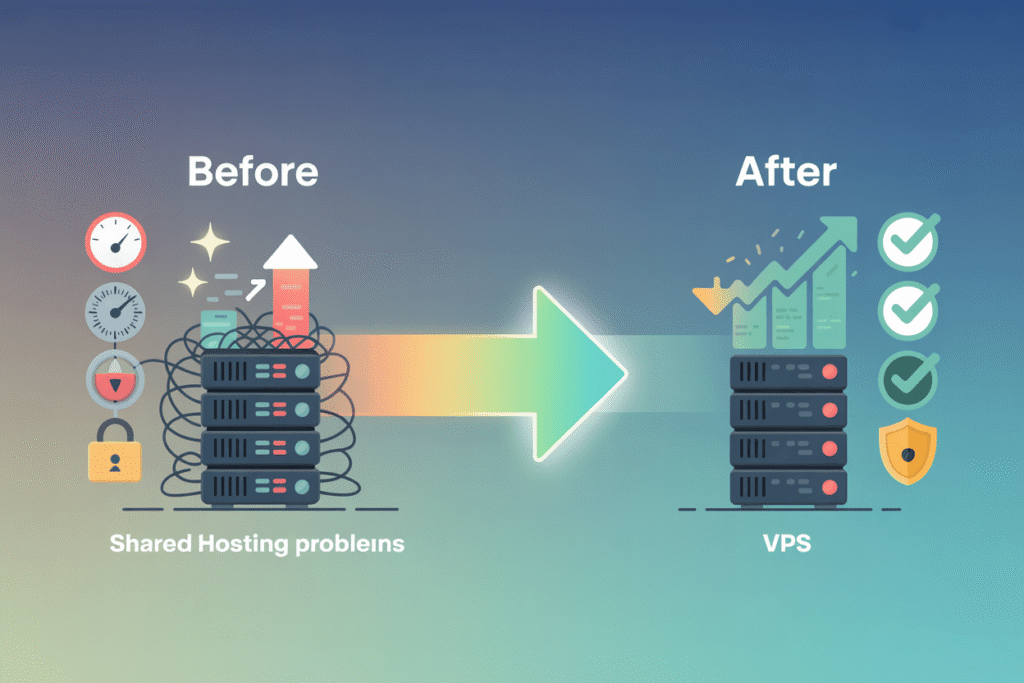
2. Pick a Hosting Provider
Hosting Type
Best For
Pros
Cons
Shared Hosting
Small blogs, portfolios
Low cost, easy setup
Limited resources, shared performance
VPS (Virtual Private Server)
Growing sites, custom apps
More control, scalable
Requires server knowledge
Dedicated Server
High‑traffic, enterprise
Full hardware control
Expensive, maintenance heavy
Cloud Hosting (AWS, GCP, Azure, DigitalOcean)
Scalable apps, modern stacks
Pay‑as‑you‑go, global regions
Can be complex for beginners
Managed WordPress
WordPress sites
Automatic updates, backups
Higher price, limited to WP
Recommendation for most beginners: Start with a reputable shared host (e.g., SiteGround, Bluehost) or a low‑cost cloud VPS (e.g., DigitalOcean Droplet, Linode).
3. Set Up Your Hosting Environment
Create an account on your chosen provider.
Add a new server/instance – select OS (Ubuntu 22.04 LTS is a solid default).
Configure basics:
Set a strong root password or SSH key.
Open necessary ports (80 for HTTP, 443 for HTTPS).
Install a web stack – the classic LAMP (Linux, Apache, MySQL, PHP) or LEMP (replace Apache with Nginx). Many hosts offer one‑click installers.
Secure the server:
Run sudo apt update && sudo apt upgrade.
Install a firewall (ufw allow OpenSSH, ufw enable).
Disable root login via SSH.
4. Point Your Domain to the Server (DNS Configuration)
Log into your domain registrar.
Locate the DNS or Nameserver settings.
Option A – Use registrar’s DNS:
Add an A record pointing @ (root) to your server’s public IP.
Add a CNAME for www pointing to @.
Option B – Use host’s nameservers:
Replace the registrar’s nameservers with those provided by your hosting provider (e.g., ns1.digitalocean.com).
Then manage DNS records in the host’s dashboard.
Propagation can take up to 48 hours, but usually finishes within a few minutes.
5. Deploy Your Website Files
a. Static Sites (HTML/CSS/JS)
Use SFTP/FTP (FileZilla, WinSCP) to upload files to /var/www/html (or the folder your host defines).
Or push via Git and pull on the server (git clone https://github.com/username/repo.git).
b. Dynamic Sites (PHP, Node.js, Python, etc.)
PHP: Place files in the web root, ensure php-fpm is running, and configure Apache/Nginx to pass .php requests.
Node.js: Use a process manager like PM2, set up a reverse proxy (Nginx) to forward port 80/443 to your app’s port.
Python (Django/Flask): Use Gunicorn + Nginx, or uWSGI.
sudo systemctl status certbot.timer # should be enabled
7. Test and Optimize
Check DNS:dig +short example.com should return your server IP.
Verify HTTPS: Visit https://example.com – look for the padlock.
Performance: Enable caching (Nginx expires headers), compress assets (gzip), and consider a CDN (Cloudflare) for static files.
Analytics & SEO: Add Google Analytics, submit a sitemap to Google Search Console.
8. Ongoing Maintenance
Backups: Automate daily snapshots (e.g., using rsync to a remote storage or host‑provided backup services).
Updates: Keep OS, web server, and application dependencies current.
Monitoring: Use tools like UptimeRobot, Pingdom, or server‑side monitoring (Netdata, Prometheus).
Security Audits: Periodically scan for vulnerabilities (lynis, nmap).
Quick Checklist
Domain registered and renewed.
Hosting plan selected and server set up.
DNS records correctly point to the server.
Web stack installed and configured.
Site files deployed.
HTTPS certificate installed.
Site tested on multiple devices.
Backup and monitoring configured.
Conclusion
Hosting a website is no longer a daunting task. By following these steps—choosing a domain, picking the right host, configuring DNS, deploying your code, securing with HTTPS, and maintaining the environment—you’ll have a reliable, fast, and secure online presence. As your site grows, you can scale up from shared hosting to cloud or dedicated solutions, but the fundamentals remain the same. Happy publishing!